How to Prepare Your Space for Painting: A Comprehensive Guide for Homeowners
When it comes to transforming the look and feel of your home, few projects offer as much impact as a fresh coat of paint. Whether you’re looking to refresh a single room or give your entire home a makeover, proper preparation is key to ensuring a smooth and successful painting process. In this guide, we’ll walk you through everything you need to know to prepare your space for painting, from moving furniture to protecting floors, and how to make the process seamless for both the painters and homeowners. So, if you’re ready to embark on your painting journey, read on for our expert tips and tricks.
1. Plan Ahead:
Before the painters arrive, it’s essential to invest some time in meticulous planning to ensure the smooth execution of your painting project. Start by meticulously mapping out the logistics of the endeavor. Decide which rooms will undergo painting and establish the preferred order in which they’ll be tackled. Creating a well-defined timeline for the project is equally crucial. By establishing clear deadlines and milestones, you’ll be better equipped to coordinate with the painters effectively.
A thoughtfully crafted plan not only streamlines the painting process but also minimizes disruptions to your daily routine. Whether you’re hiring a house painter, residential painter, or a painter near you, providing them with a comprehensive plan will facilitate seamless collaboration. Clear communication and mutual understanding of project objectives are the cornerstones of a successful painting project. Therefore, investing time in planning and strategizing upfront can yield significant dividends in terms of efficiency and overall satisfaction with the end result.
2. Clear the Space:
To ensure a smooth and efficient painting process, begin by clearing the room of as much furniture and clutter as possible. This not only provides the painters with ample space to maneuver but also safeguards your belongings from potential paint splatters and spills. If relocating furniture entirely isn’t feasible, consider grouping it in the center of the room and covering it with protective plastic sheeting or drop cloths. This simple precautionary measure effectively shields your furnishings from inadvertent paint damage, allowing you to maintain their pristine condition throughout the painting endeavor.
Moreover, clearing the space of obstacles enables the painters to work more efficiently, ensuring a more thorough and professional finish. By creating an unobstructed workspace, you contribute to a safer environment for both the painters and your possessions. Additionally, removing furniture and items from the room minimizes the risk of accidental damage during the painting process, saving you time and potential repair costs in the long run. Therefore, investing effort in decluttering and protecting your space before the painters arrive is a proactive step towards achieving optimal results and preserving the integrity of your home.
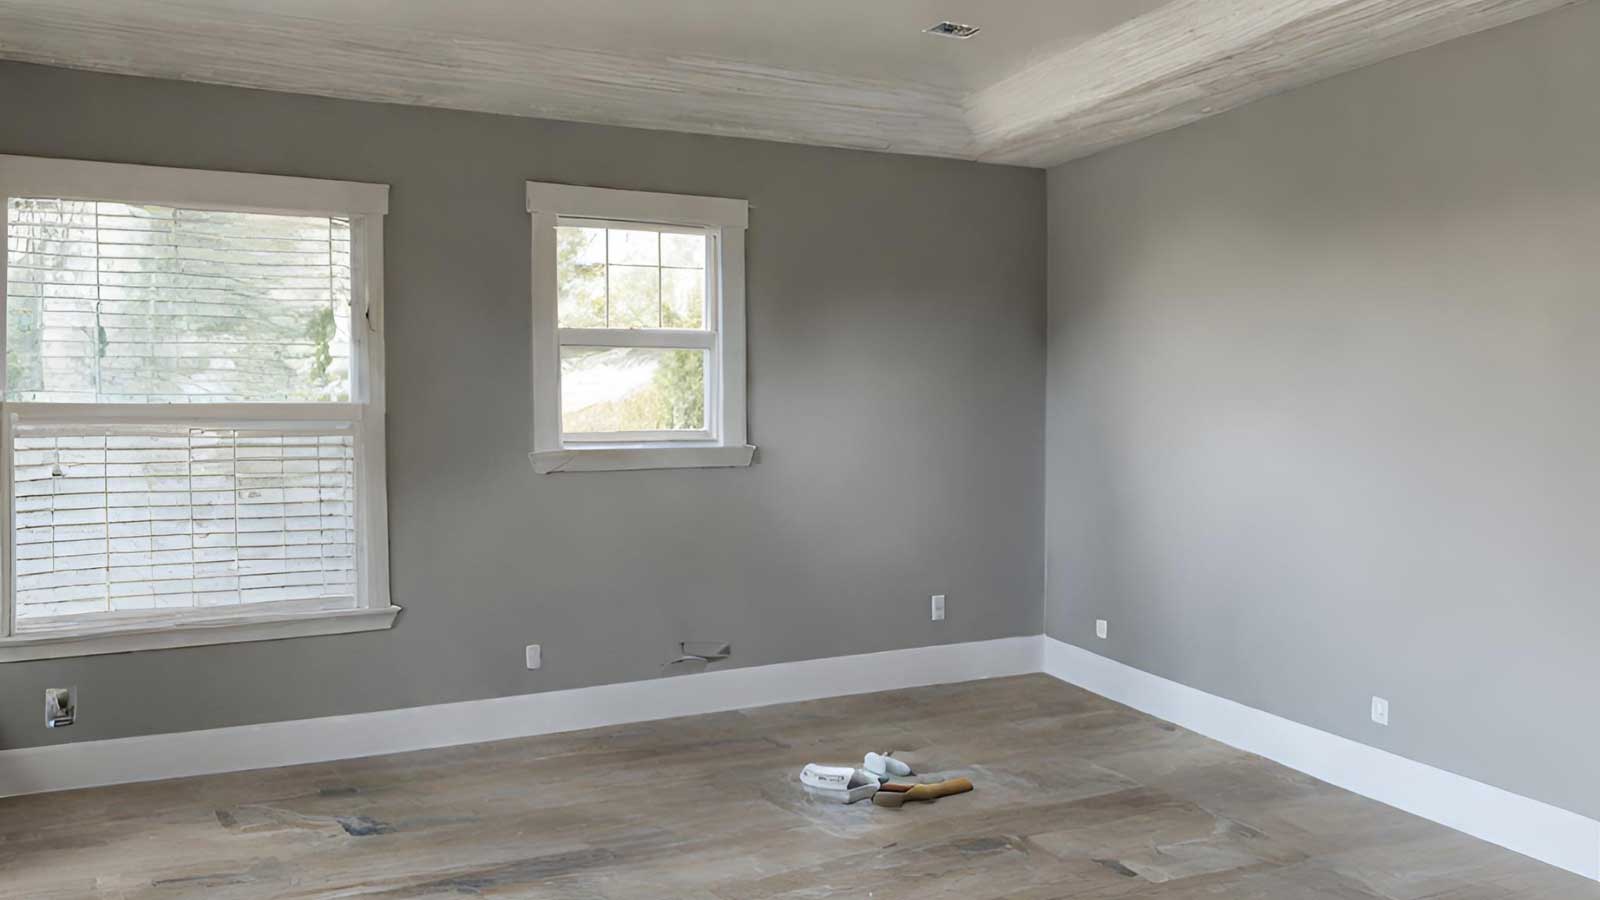
3. Protect Floors and Surfaces:
After clearing the room of furniture and items, the next crucial step is to safeguard your floors and surfaces from potential paint drips and spills. To achieve this, lay down drop cloths or plastic sheeting to cover the entirety of the floor area. This protective barrier acts as a shield, preventing paint from seeping through and causing unsightly stains or damage to your flooring.
Furthermore, use painter’s tape to meticulously protect baseboards, trim, and any other areas that won’t be receiving a fresh coat of paint. Applying painter’s tape along the edges ensures clean lines and crisp borders, enhancing the overall aesthetic appeal of the painted surfaces.
By taking these precautionary measures, you not only maintain the cleanliness and integrity of your floors and surfaces but also streamline the cleanup process post-painting. With proper protection in place, you can rest assured that your floors and surfaces will remain unscathed, allowing you to enjoy the freshly painted space without any worries.
Ultimately, investing time and effort in floor and surface protection ensures a smooth and successful painting process, leaving your home looking refreshed and revitalized.

4. Clean and Prep Walls:
Prior to commencing the painting process, it is imperative to thoroughly clean and prepare the walls to ensure optimal results. Begin by mixing a mild detergent with water and using a sponge or cloth to gently scrub away any accumulated dirt, dust, or grease. This initial cleaning step serves to remove surface contaminants that may interfere with paint adhesion, promoting a smooth and even finish.
Once the walls have been cleaned, allow an adequate amount of time for them to dry completely before proceeding with painting. This drying period is crucial as applying paint to damp surfaces can lead to poor adhesion and unsatisfactory results.
In addition to cleaning, it’s essential to inspect the walls for any imperfections such as holes or cracks. If such blemishes are present, address them by filling them with spackle or filler. After filling the holes or cracks, use sandpaper to smooth the patched areas, ensuring a seamless transition between the patched areas and the surrounding wall surface.
By meticulously cleaning and prepping the walls before painting, you create an ideal canvas for the application of paint, resulting in a professional-looking finish that enhances the overall appearance of your space. Taking the time to properly prepare the walls sets the stage for a successful painting project and ensures that your efforts yield lasting and satisfying results.
5. Remove Fixtures and Hardware:
Whenever feasible, consider removing light fixtures, outlet covers, and other hardware from the walls before painting. Doing so simplifies the painting process, ensuring cleaner edges and a more polished finish. If removal isn’t possible, utilize painter’s tape to shield these fixtures from accidental paint drips and spills. This precaution not only preserves the integrity of the fixtures but also contributes to a more professional-looking outcome for your painted space.
6. Communicate with Your Painter:
Maintaining open communication with your painter is crucial throughout the painting process. Share any specific instructions or preferences you have, and ensure they have sufficient access to the workspace. Collaborating closely and staying in touch allows for a smoother painting process and ensures your satisfaction with the final results. By fostering a cooperative relationship, you and your painter can work together seamlessly to achieve the desired outcome for your space.
Preparing your space for painting is a crucial step in ensuring a successful and stress-free painting project. By following these tips and guidelines, you can create a clean, organized, and well-prepared space that will make the painting process smoother for both you and your painters. So, whether you’re hiring a house painter, residential painter, or painter near you, be sure to take the time to prepare your space properly – your home will thank you for it!