At Roarty Painting, we know that the secret to a long-lasting and beautiful exterior finish starts well before the paint is even opened. If you’re wondering how to prepare your home for an exterior paint job, you’re in the right place. Preparation isn’t just a step in the process—it’s the foundation of quality. And across the Lower Mainland, from Vancouver to Coquitlam and beyond, we’ve been transforming homes with expert precision, beginning with the right prep.
Why Preparation Matters
You wouldn’t ice a cake before it’s baked—and you definitely shouldn’t jump into exterior painting without laying the groundwork. Proper preparation ensures your new paint adheres well, looks smooth, and endures our ever-changing West Coast weather.
Think about it this way: your home’s exterior takes a beating from sun, rain, snow, wind, and the occasional basketball. Over time, that exposure wears down even the best materials. So when it’s time to freshen up with a new coat of paint, it’s critical that the surface is well-prepared. Skipping these steps means the paint won’t stick properly, leading to early peeling, bubbling, or cracking. It’s a waste of time and money.
That’s why Roarty Painting treats preparation as the backbone of our painting services. We’ve seen it all—from flaking siding in Surrey to mildewed soffits in North Vancouver—and we know how to do the job right from day one. Our clients appreciate our attention to detail, and our results speak for themselves.
So before you choose a paint color or book a painter, take time to understand the full process. Knowing how to prepare your home for an exterior paint job is your first step toward a professional finish that lasts for years.
Step 1: Inspect and Diagnose
The first step in how to prepare your home for an exterior paint job is taking a slow, methodical walk around your home. Grab a notepad or your phone and start documenting. You’re looking for signs of damage, wear, or anything that might prevent a smooth painting surface. This includes peeling or flaking paint, water stains, mildew spots, cracked caulking, rotting wood, and even insect nests tucked under eaves.
Vancouver’s coastal climate—with its blend of humidity, rain, and strong UV exposure—means exterior surfaces take a beating. This is particularly true in shaded areas prone to moss or spots that trap moisture like window trims or deck railings. Ignoring these warning signs leads to shortcuts that cost more in the long run. If left untreated, even minor damage can break through the fresh paint within months.
At Roarty Painting, we approach inspections with a professional eye. During our assessments across the Lower Mainland—from Burnaby to Maple Ridge—we often uncover issues homeowners miss. One client in Port Moody was shocked when we uncovered rot hidden beneath bubbling paint. Luckily, we caught it in time and replaced the siding before any painting started.
A good inspection gives you a clear picture of what prep work will be required. It also helps our painting contractors offer an accurate, no-surprise quote and timeline. When you’re aiming for top-tier house painting results, knowledge truly is power. Don’t skip this step. Treat your home like a masterpiece in progress—and that starts by understanding exactly what you’re working with.
Step 2: Clean the Surface
Once you’ve completed your inspection, the next step in how to prepare your home for an exterior paint job is giving your house a proper bath. We’re not talking about a garden hose rinse. This is a deep clean—one that removes years of accumulated dirt, dust, cobwebs, algae, and peeling paint that could sabotage your fresh coat.
For the best results, we recommend power washing. It’s efficient and powerful enough to clean deep into textures like stucco and wood grain. Our team at Roarty Painting uses commercial-grade pressure washers designed to safely remove contaminants without damaging your siding. Depending on the surface, we adjust pressure to suit—whether we’re prepping vinyl siding in Coquitlam or cedar shingles in North Vancouver.
Don’t underestimate the importance of this step. Paint adheres best to clean, dry surfaces. If grime or mildew is left behind, your new exterior painting job could start to peel or discolor prematurely. We’ve encountered projects where prior cleaning was skipped, and the fresh paint began bubbling within months. A homeowner in Surrey once had to repaint their entire back wall just a year after their last painter cut corners.
We also use biodegradable cleaning solutions where needed to combat mildew or mold without harming your landscaping. Safety and effectiveness are our top priorities.
If you’re taking the DIY route, be cautious. Too much pressure can etch wood or even push water behind siding, leading to bigger issues later. And always let surfaces dry thoroughly—usually 24–48 hours—before moving on to the next prep step. Cleaning isn’t glamorous, but it’s one of the most essential phases of house painting success.
Not sure how to power wash correctly? Here’s a great guide on technique and safety.
Step 3: Repair and Restore
Now that your home is clean and dry, the next step in how to prepare your home for an exterior paint job is to repair and restore any damaged areas. Think of this step as the behind-the-scenes work that ensures your paint job not only looks flawless but actually lasts.
Start by identifying cracks, holes, or rotten wood that need fixing. Caulk any gaps around windows and doors to prevent moisture intrusion and improve energy efficiency. Use exterior-grade fillers and sealants for durability, and always make sure the surface is smooth before moving on. In areas like Burnaby and Langley, where seasonal weather changes are more pronounced, these issues tend to pop up more frequently and need thorough attention.
Rotten or splintered wood must be replaced—not patched—before any primer or paint touches it. We’ve seen many cases in the Lower Mainland where moisture damage was hiding behind a thin layer of old paint. One project in Port Coquitlam revealed extensive wood rot beneath what looked like just a few blisters on the trim. Fortunately, we caught it early, replaced the affected wood, and ensured the new exterior painting application had a solid foundation.
At Roarty Painting, our team includes skilled sub contract carpenters as part of our painting services. We handle these repairs, so there’s no delay between repair and painting. That means less downtime for you and a more streamlined project.
Fixing what lies beneath may not seem exciting, but it’s essential. Don’t gloss over the repairs—because even the most vibrant, expertly applied paint can’t hide poor preparation. This step sets the stage for a house painting result that’s built to last in Vancouver’s dynamic weather conditions.
Step 4: Sand and Scrape for Smoothness
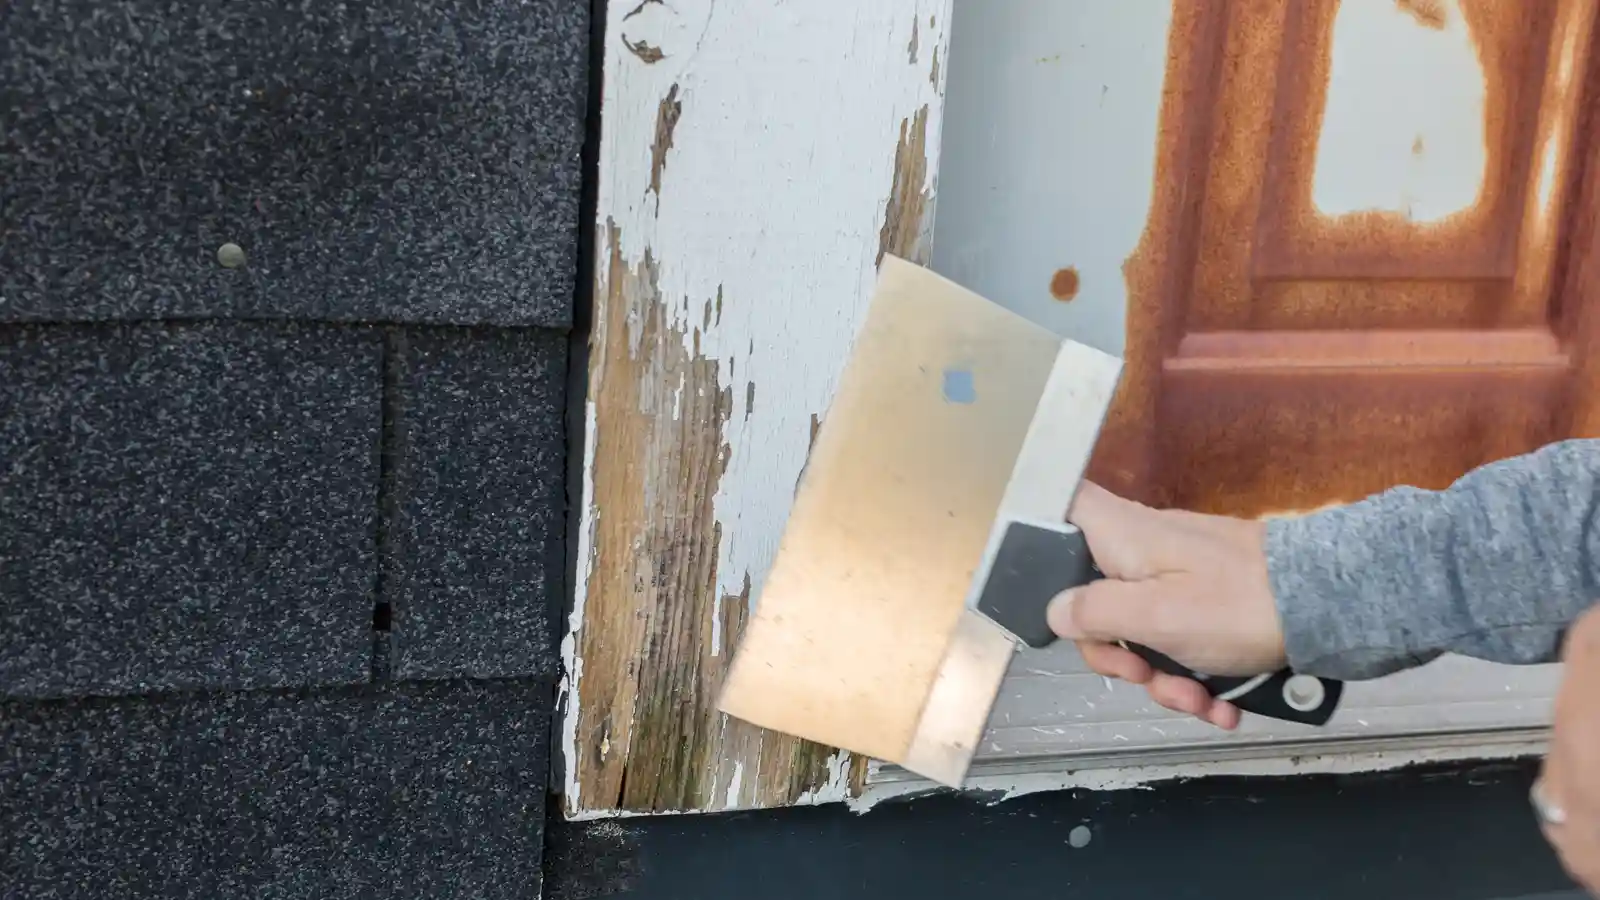
Sanding and Scraping may not be the most glamorous part of how to prepare your home for an exterior paint job, but it’s one of the most important. Once repairs are complete, sanding helps ensure a smooth and even surface that your new paint can cling to without interruption. It’s the fine-tuning stage that elevates a good paint job to a professional one.
Sanding and Scraping removes residual flakes of old paint, levels out edges where patching has been done, and smooths over uneven textures caused by wear and tear. On older homes, you might encounter several layers of existing paint, each adding to surface inconsistency. This is particularly true in Vancouver’s historic neighborhoods, where homes may have been painted over numerous times.
We tailor our approach to your home’s specific exterior material. For wooden siding, we use hand sanding or orbital sanders to feather out chipped edges and rough patches. On stucco or concrete, we may use wire brushes or specialized abrasives to keep the texture intact while prepping it for a solid coat of primer.
A recent project in West Vancouver required us to remove over two decades of faded and peeling paint. After several passes with professional-grade sanders, we revealed a clean and even surface ready to take on a modern, high-durability paint. The result? A flawless finish that made the home look brand new.
Skipping this step or doing it poorly will lead to visible imperfections, uneven sheen, and weak adhesion. And that’s the last thing you want after investing time and money into house painting. Proper sanding and scraping doesn’t just improve appearance—it significantly extends the life of your exterior painting project.
Step 5: Protect the Things You Love
With the surface sanded to perfection, it’s time to shift focus to everything you don’t want painted. One of the most overlooked steps in how to prepare your home for an exterior paint job is properly protecting the surrounding areas. From garden beds to patio furniture, safeguarding your belongings ensures that only your house gets the fresh coat of color—not your roses, windows, or barbecue grill.
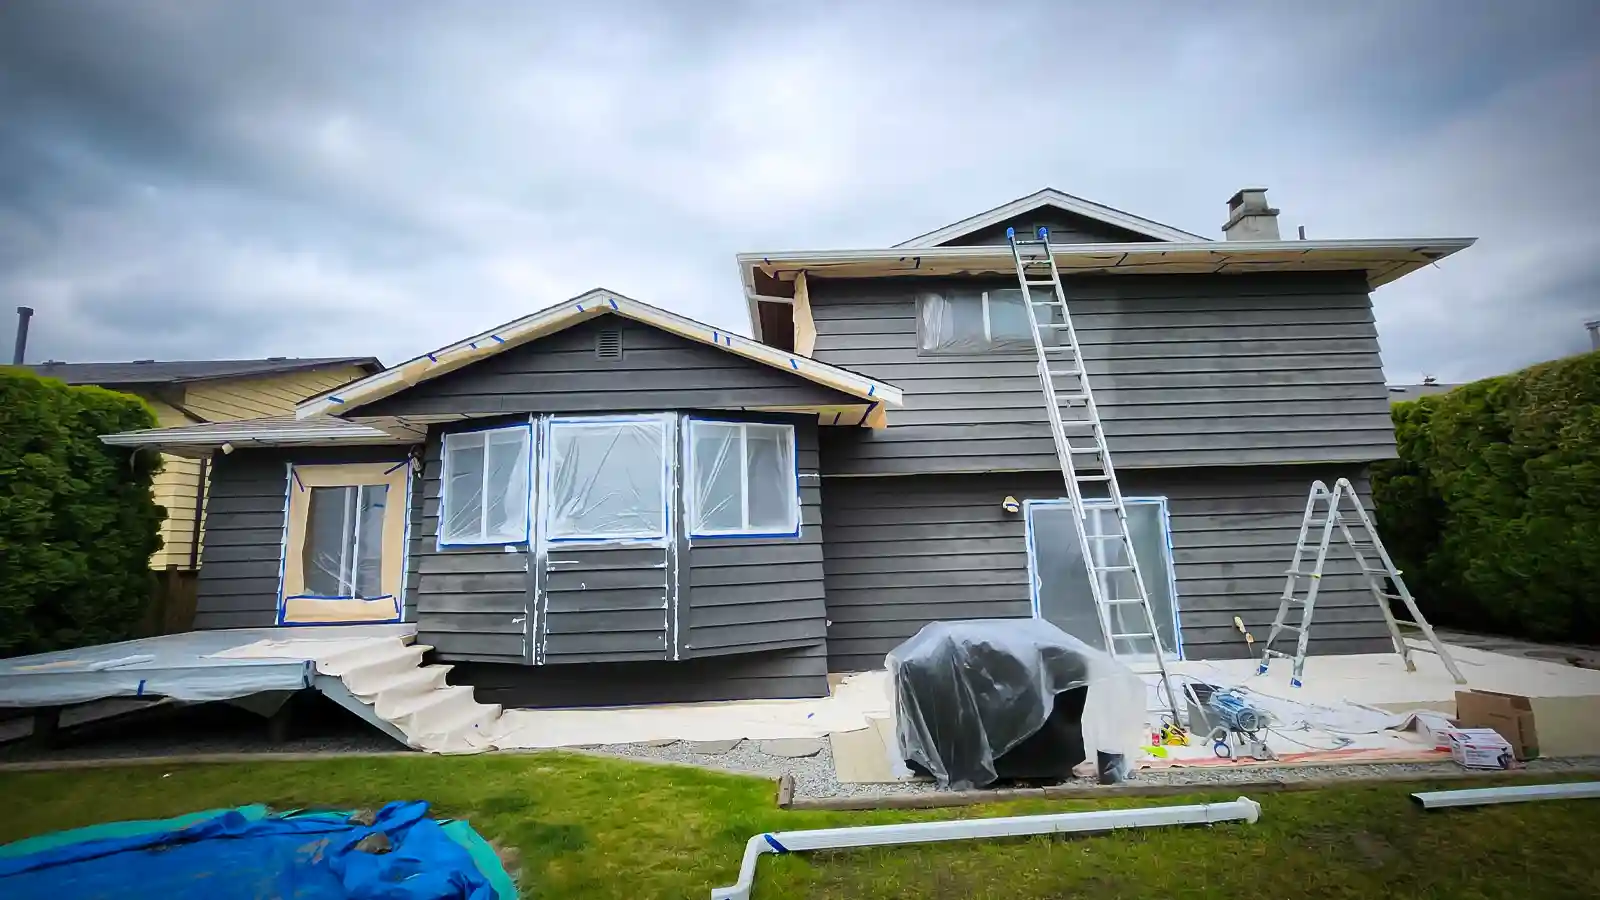
Paint with precision—and that starts with solid prep work. We cover plants and shrubs with breathable drop cloths that allow airflow while shielding them from paint splatters. For decks, walkways, and driveways, we use heavy-duty canvas or plastic sheeting to prevent stains and mess. Windows and trim are masked with painter’s tape, and outdoor fixtures are either covered or temporarily removed to ensure a clean finish line.
A great example comes from a project we completed in Richmond. The homeowner had just redone their backyard landscaping, and they were understandably nervous about damage. We took extra care to protect every inch of turf, stone, and shrub. The paint job went off without a hitch, and the garden looked just as stunning when we left as it did when we arrived.
Even small details—like mailboxes, house numbers, and door hardware—are given attention during this phase. When everything is properly masked, our painting contractors can work efficiently and confidently, knowing they’re delivering a top-tier house painting experience without collateral damage.
This isn’t just a matter of cleanliness—it’s about showing respect for your home and everything around it. Trust us, future you will appreciate not having to scrape paint off the patio set.
Step 6: Prime with Purpose
Priming isn’t just a suggestion—it’s a crucial part of how to prepare your home for an exterior paint job. Once your surfaces are repaired, sanded, and protected, applying a high-quality primer creates the perfect canvas for your final paint layer. At Roarty Painting, we treat primer like the unsung hero of every exterior project.
A primer serves several purposes. It seals porous surfaces, hides stains, and helps the paint adhere better, especially on previously unpainted surfaces or where repairs were made. If your home has bare wood, patched sections, or areas prone to mildew, skipping primer is like building a house without a foundation—it just won’t hold up.
Different materials call for different primers. We often use stain-blocking primers on water-damaged areas, bonding primers on slick surfaces like metal or PVC, and mildewcide primers for damp-prone areas along the Lower Mainland. Each one is selected based on your home’s specific needs and environment.
For example, we completed an exterior painting project in White Rock where the south-facing wall had heavy sun exposure and some old water staining. A specialized primer not only blocked the discoloration but also protected the surface from future UV damage, extending the life of the topcoat significantly.
Primer also enhances the colour depth and vibrancy of your chosen topcoat. When done correctly, it allows your house painting project to look fresher, brighter, and more even. Plus, it adds years to the longevity of your painting services investment.
Simply put, primer is not optional—it’s essential. If you want a durable, professional-grade finish that looks great and lasts, don’t skip this step. Let the primer do the heavy lifting, so your paint can shine.
Step 7: Choose the Right Paint and Team
The final step in how to prepare your home for an exterior paint job is also one of the most exciting—choosing your paint and selecting a professional team to bring it to life. With the hard work of prep complete, now is the time to ensure your efforts pay off with premium results that last for years.
First, let’s talk about the paint itself. Not all paints are created equal, especially when it comes to the demands of outdoor use in the Lower Mainland. Between coastal rain, bright sun, and temperature fluctuations, your paint needs to be tough. At Roarty Painting, we use high-performance exterior paints that are fade-resistant, mildew-resistant, and built to withstand our unique climate.
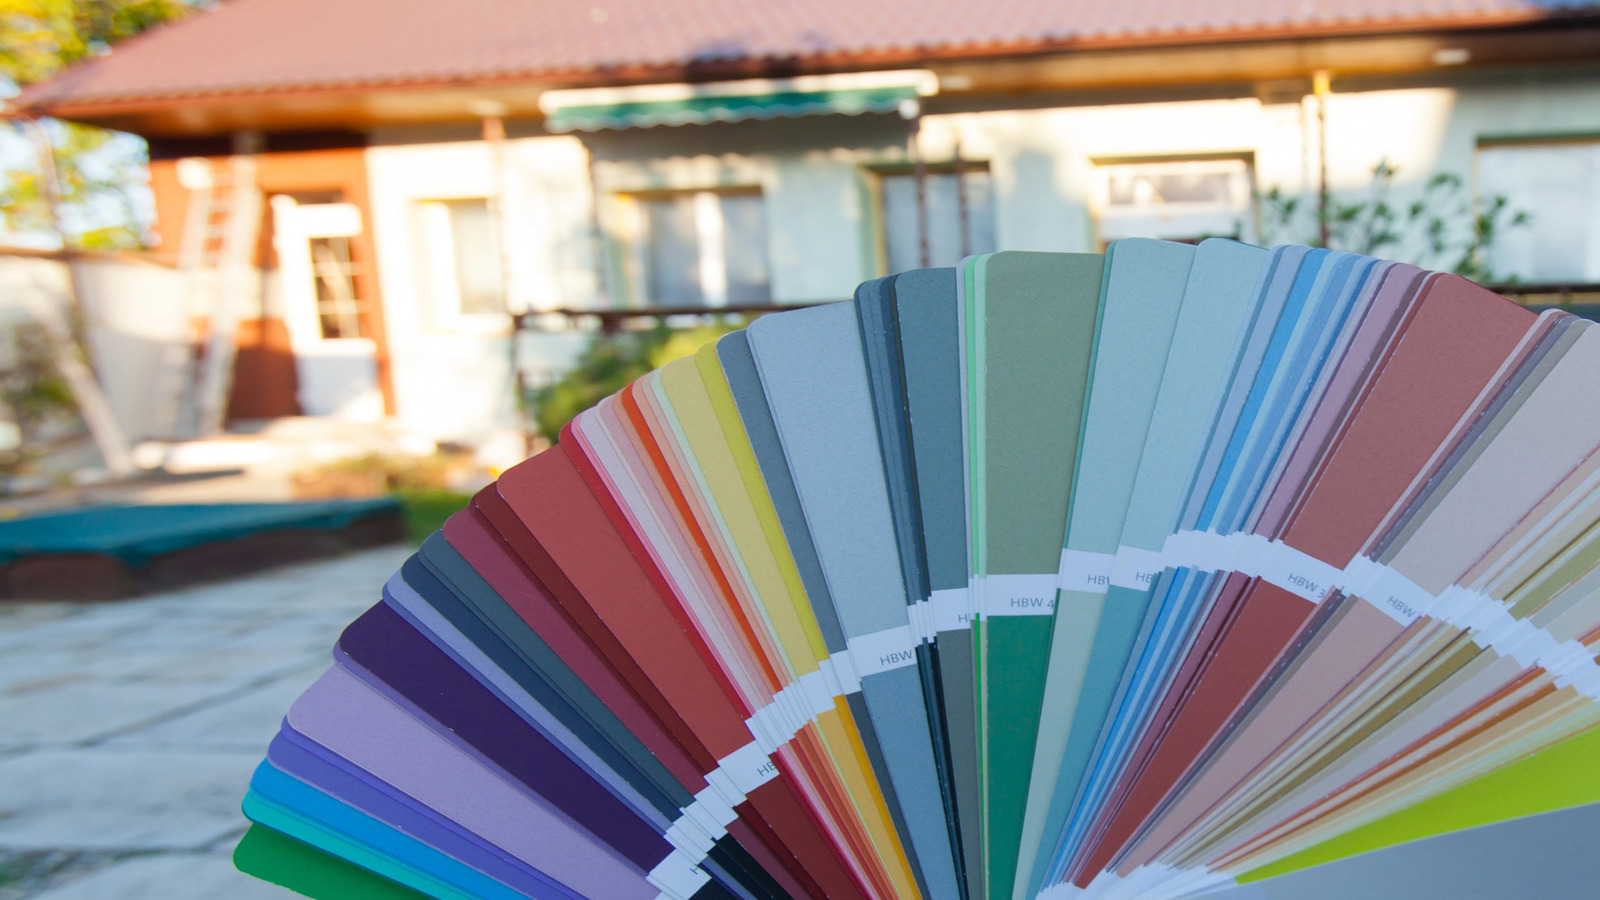
But selecting the right type of paint is only half the equation. The colour you choose should reflect your personal style while enhancing your home’s character and curb appeal. Our team provides expert colour consultations to help you pick tones that complement your surroundings and add value to your property.
Equally important is choosing the right painting contractors. You want a team that’s not only experienced but also reliable, insured, and detail-oriented. We’ve proudly served homeowners across the Lower Mainland for years, offering top-tier painting services that combine craftsmanship with customer care. Our crews are punctual, tidy, and respectful of your home and your time.
Take it from a homeowner in Langley who recently told us, “Your team treated my home like their own.” That’s the Roarty way—because house painting isn’t just about adding colour; it’s about creating a durable, beautiful result that you’ll love every time you pull into your driveway.
Choosing the right paint and painter is the final, crucial piece to this entire process. Make it count.
Bonus Tips from the Field
Even with all the major prep work checked off, there are still a few insider strategies that can make a big difference when learning how to prepare your home for an exterior paint job. These bonus tips help your project run smoother, reduce stress, and ensure a better outcome.
Plan Around the Weather
Vancouver weather is known for being a bit unpredictable. That’s why one of our top suggestions is to check the forecast religiously before painting day. Paint doesn’t cure well in cold, damp, or overly hot conditions. We aim for moderate temperatures and dry weather—a sweet spot that usually falls between late spring and early fall. Stay up to date with Environment Canada’s forecast for Vancouver before scheduling your painting project.
We’ve had clients in places like North Vancouver or White Rock where scheduling around the weather meant rescheduling a couple of times. While it may delay your project slightly, the payoff is worth it: better adhesion, smoother application, and a longer-lasting result.
For more on timing your project, see Behr’s guide on painting in cold weather.
Communicate with Neighbors
If your home is close to others—as is common across the Lower Mainland—it’s a good idea to give your neighbors a friendly heads-up. Exterior painting can bring extra activity, noise, and sometimes even shared fence access. Notifying your neighbors in advance shows courtesy and avoids awkward surprises.
In Burnaby, we once had a pair of neighbors schedule their house painting jobs back-to-back just because the first homeowner opened up the conversation. It turned into a street-wide glow-up!
Secure Pets and Children
Let’s be honest—pets and kids are curious. Wet paint, open ladders, and tools are a recipe for trouble. Make plans to keep pets indoors or with a friend and keep children safely away from the work zone.
We’ve had adorable paw prints and tiny handprints make unexpected appearances on wet paint more than once. They make cute stories but add time and cost to the job. Preparation means planning for safety, too.
FAQs
Q: How far in advance should I start preparing my home for exterior painting?
A: Start preparing your home at least 1–2 weeks in advance. This allows time for inspections, repairs, and proper drying after cleaning, especially in unpredictable Lower Mainland weather.
Q: Will Roarty Painting handle surface repairs, or do I need a separate contractor?
A: Roarty Painting handles most surface repairs in-house, including crack filling, wood replacement, and sanding, as part of our full-service approach.
Q: How do I know if my house needs priming before painting?
A: If your home has bare wood, stains, patched areas, or failed paint, it needs priming. We assess and apply the appropriate primer for strong adhesion and durability.
Final Thought
Now that you’ve learned how to prepare your home for an exterior paint job, it’s clear that great painting doesn’t start with the brush—it starts with a plan. From inspection and cleaning to repairs, sanding, priming, and protection, every step matters. Skipping even one can mean the difference between a beautiful, lasting finish and one that needs a redo by next season.
At Roarty Painting, we’ve honed our process across countless homes throughout the Lower Mainland. Whether you’re in Vancouver, Langley, Delta, or New Westminster, our commitment to thorough preparation ensures that your investment pays off with jaw-dropping curb appeal and long-term durability.
Our goal isn’t just to paint your house—it’s to enhance your home’s value, protect it from the elements, and make you feel proud every time you pull into your driveway. And yes, we want you to enjoy the process, too. That’s why we approach every job with professionalism, transparency, and a touch of humour to keep things light.
Remember, a flawless exterior finish begins well before the first coat goes on. And now that you know how to do it right, you’re one step closer to a transformation you can truly feel great about.
Get in Touch with Roarty Painting Today!
Ready to put your home’s exterior in the hands of trusted local experts? Let’s talk.
We specialize in high-quality exterior painting and full-service painting services across the Lower Mainland. From pre-paint prep to the final cleanup, we bring skill, care, and commitment to every brushstroke.
Phone: 604-477-9184
Email: roartypainting@gmail.com
Don’t just repaint—reimagine your home with Roarty Painting.
